Compiling Cockpit on Ubuntu 22.04 LTS - Migrating to Cockpit (Part II)
In Migrating to Cockpit (Part II), we're going to build Cockpit from source and setup NetworkManager.

In Migrating to Cockpit (Part I) we installed Ubuntu Server 22.04 LTS. In Part II, we're going to install Cockpit and NetworkManager. Cockpit provides a beautiful and modern web interface to manage our server(s), virtual machines and containers.
Installing Cockpit
There's two ways we'll look at installing Cockpit: Ubuntu's repositories and compiling from source. Ubuntu 22.04 LTS ships with Cockpit v264 while the latest available on GitHub, as of the date of this post, is v267.
Installing from Ubuntu's Repositories
If you're looking for a quick and easy way to get up and running, you can install Cockpit and it's dependencies via apt:
$ sudo apt install cockpit cockpit-machines cockpit-podmanThis will install all the dependencies we need to create virtual machines and podman containers not only with Cockpit but on the CLI as well. Like I said, quick and easy.
Note: If you choose this method, you'll need to get updates to Cockpit via the backports repository. For example, Ubuntu 20.04 LTS is still on Cockpit version 215 which shipped in March 2020. Version 264 is available from the focal-backports repository.
Installing from source
Installing from source should be pretty easy using the instructions I've outlined below. The only documentation I could find for compiling from source was located in HACKING.md on the Cockpit GitHub page located here. I have done a lot of trial-and-error to outline this process as straightforward as I could. Please feel free to leave a comment if you can improve this even more!
Before we do anything, we need to uncomment (or add) two repositories to download the required build dependencies. Open /etc/apt/sources.list and uncomment (or add) the following:
deb-src http://us.archive.ubuntu.com/ubuntu jammy universe
deb-src http://us.archive.ubuntu.com/ubuntu jammy-updates universeNext, run sudo apt update to refresh the local cache.
Gathering Build Dependencies
There are two ways we can approach this. We could use apt build-deps cockpit to install all the required build dependencies but there's no easy way to remove all of those build dependencies. Instead, we are going to use mk-build-deps which is provided in the devscripts package. mk-build-deps also requires the equivs package as noted here.
~$ sudo apt install devscripts equivsNow we're ready to install the build dependencies. The following command will create a deb package cockpit-build-deps, which requires all of our build dependencies, allowing us to easily remove them all later by simply removing this one package.
~$ mk-build-deps cockpit --install --root-cmd sudo --remove--install will automatically install the generated deb package
--root-cmd sudo specifys how to obtain root
--remove will remove the deb package file after it's been installed
Cloning the git repo
Now we're going to clone the git repo which will download it into a folder named cockpit:
~/$ git clone https://github.com/cockpit-project/cockpit.git
~/$ cd cockpit
Building deb packages
Rather than running ./configure, make and sudo make install, I'm opting to package everything into deb packages which will make them very easy to reuse, install and uninstall. Cockpit includes a handy little bash script for us:
~/cockpit$ tools/make-debs --quickWhen it's complete, you'll be shown a list of all the deb packages it has built for us:
dpkg-buildpackage: info: binary-only upload (no source included)
/home/gradiian/cockpit
cockpit_267.10.g61a47d190-1_all.deb
cockpit-pcp_267.10.g61a47d190-1_amd64.deb
cockpit-tests_267.10.g61a47d190-1_amd64.deb
cockpit-networkmanager_267.10.g61a47d190-1_all.deb
cockpit-storaged_267.10.g61a47d190-1_all.deb
cockpit-packagekit_267.10.g61a47d190-1_all.deb
cockpit-bridge_267.10.g61a47d190-1_amd64.deb
cockpit-ws_267.10.g61a47d190-1_amd64.deb
cockpit-system_267.10.g61a47d190-1_all.deb
cockpit-doc_267.10.g61a47d190-1_all.deb
cockpit-sosreport_267.10.g61a47d190-1_all.deb
Installing deb packages
To install all of these packages, I recommend installing via apt rather than dpkg. This allows apt to identify which are dependencies and install them in the correct order:
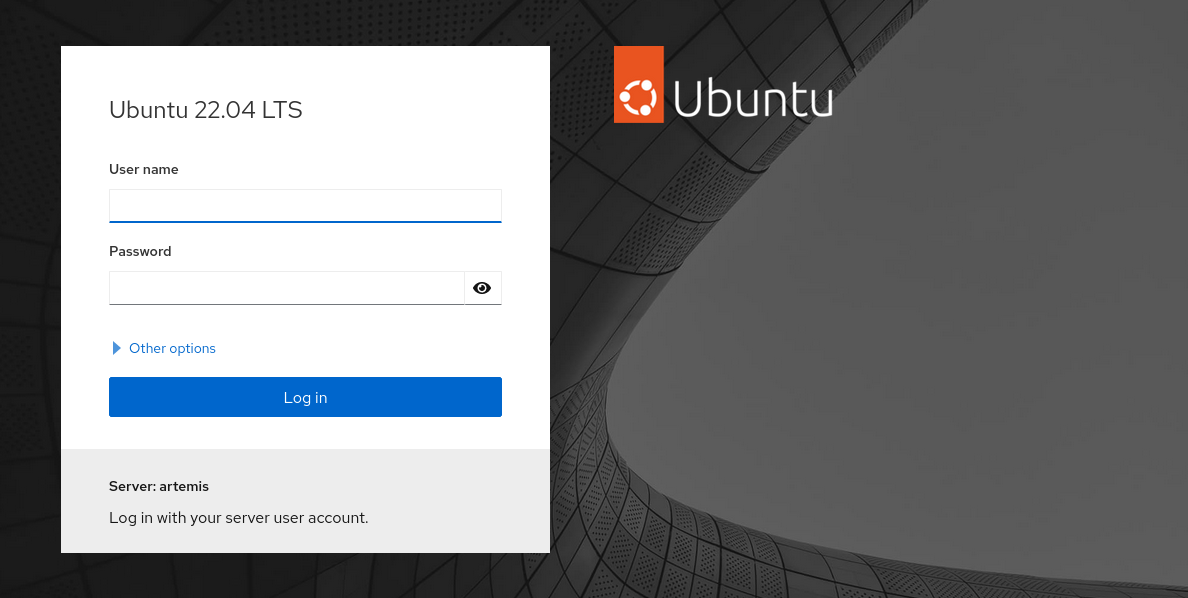
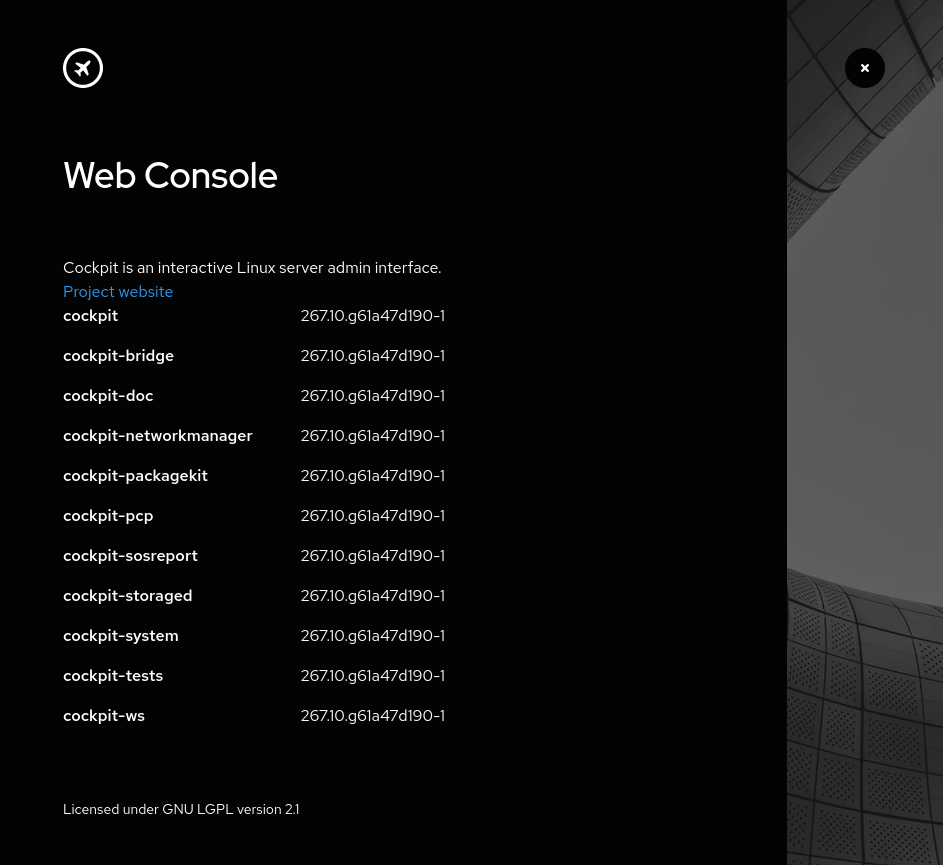
~/cockpit$ sudo apt install ./*.debTo confirm that Cockpit is installed, head over to http://server-ip:9090 in a web browser and sign in with your server credentials. In the upper right corner click Help > About Web Console to see the version you have installed:
Cleanup
Now that we're finished compiling and packaging Cockpit, we can remove all of the build dependencies in one fell swoop:
$ sudo apt remove cockpit-build-deps -ySwitching to NetworkManager
Cockpit depends on NetworkManager to manage our network interfaces. By default, Ubuntu uses networkd and this prevents us from managing our interfaces with Cockpit. Of course, you don't have to manage your network interfaces through Cockpit so feel free to skip this.
Installing NetworkManager
First thing we need to do is to install NetworkManager. If we disable systemd-networkd prior to installing it, we won't be able to connect to the internet.
$ sudo apt install network-managerTo confirm it's installed and running, lets check systemctl:
$ sudo systemctl status NetworkManager.service
● NetworkManager.service - Network Manager
     Loaded: loaded (/usr/lib/systemd/system/NetworkManager.service; enabled; vendor preset: enabled)
Active: active (running) since Tue 2022-04-19 14:24:23 UTC; 4min 30s agoGreat! It's active (running) and enabled which means it'll autostart on boot. If for some reason you see disabled just before vendor preset: enabled you can enable the service to autostart with:
$ sudo systemctl enable NetworkManager.serviceDisabling networkd
To completely stop and disable networkd we need to run the following three commands:
Disable autostart of networkd at boot:
$ sudo systemctl disable systemd-networkd.servicemask creates a symlink to /dev/null so that the service can't be triggered by another process/service:
$ sudo systemctl mask systemd-networkd.serviceStop currently running networkd service:
$ sudo systemctl stop systemd-networkd.serviceConfigure netplan to use NetworkManager
Since Ubuntu 17.10, netplan is used to configure network interfaces. If an interface is defined in this file, it will appear in Cockpit as unmanaged. This means we can see it but not make any changes to it.
What we need to do is remove the interface from netplan's configuration and tell netplan to use NetworkManager. Open /etc/netplan/00-installer-config.yaml in your preferred text editor and update it to match:
network:
  version: 2
renderer: NetworkManagerNow we must tell netplan to generate the configuration files necessary for our network manager to manage the connection:
$ sudo netplan generateFinally, we need to restart NetworkManager for the changes to take affect:
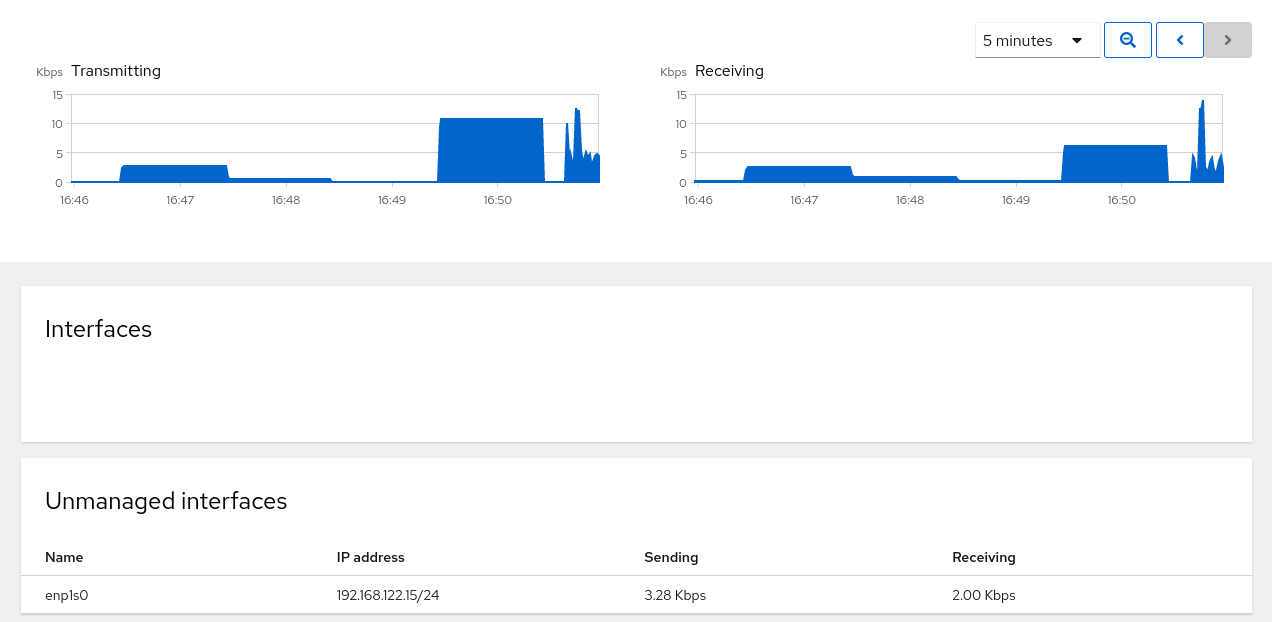
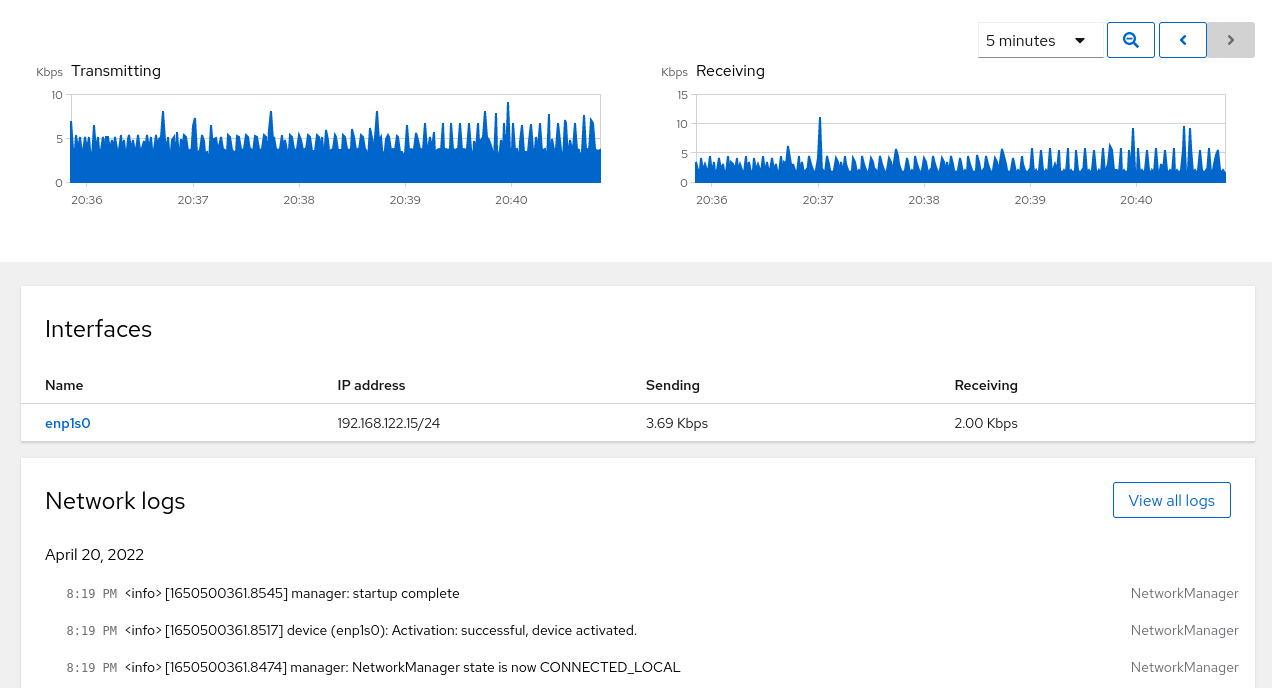
$ sudo systemctl restart NetworkManagerWe can use nmcli or check the Networking page on Cockpit to confirm that our network interface is now managed by NetworkManager:
$ nmcli
enp1s0: connected (externally) to enp1s0
        "Realtek RTL8111/8168/8411"
        ethernet (r8169), 52:54:00:77:89:B7, hw, mtu 1500
        inet4 192.168.122.15/24
        route4 192.168.122.0/24 metric 100
        inet6 fe80::5054:ff:fe77:89b7/64
        route6 fe80::/64 metric 256

lo: unmanaged
        "lo"
        loopback (unknown), 00:00:00:00:00:00, sw, mtu 65536
Conclusion
In this second part of the Migrating to Cockpit series, we installed Cockpit and NetworkManager on Ubuntu Server 22.04 LTS and configured netplan to use NetworkManager.
Stay tuned for the next part in the series where we will start deploying virtual machines with Cockpit and on the command line via virt-install. We'll also explore deploying services in containers using podman.